I have been meaning to make pizza with my son for weeks. He has been asking for it but being dairy-free, we have to make our own as store bought pizza is not an option. So today, we finally got down and did it. From scratch. And he helped with each step of the process. After all, like he says, he is the Big Helper.
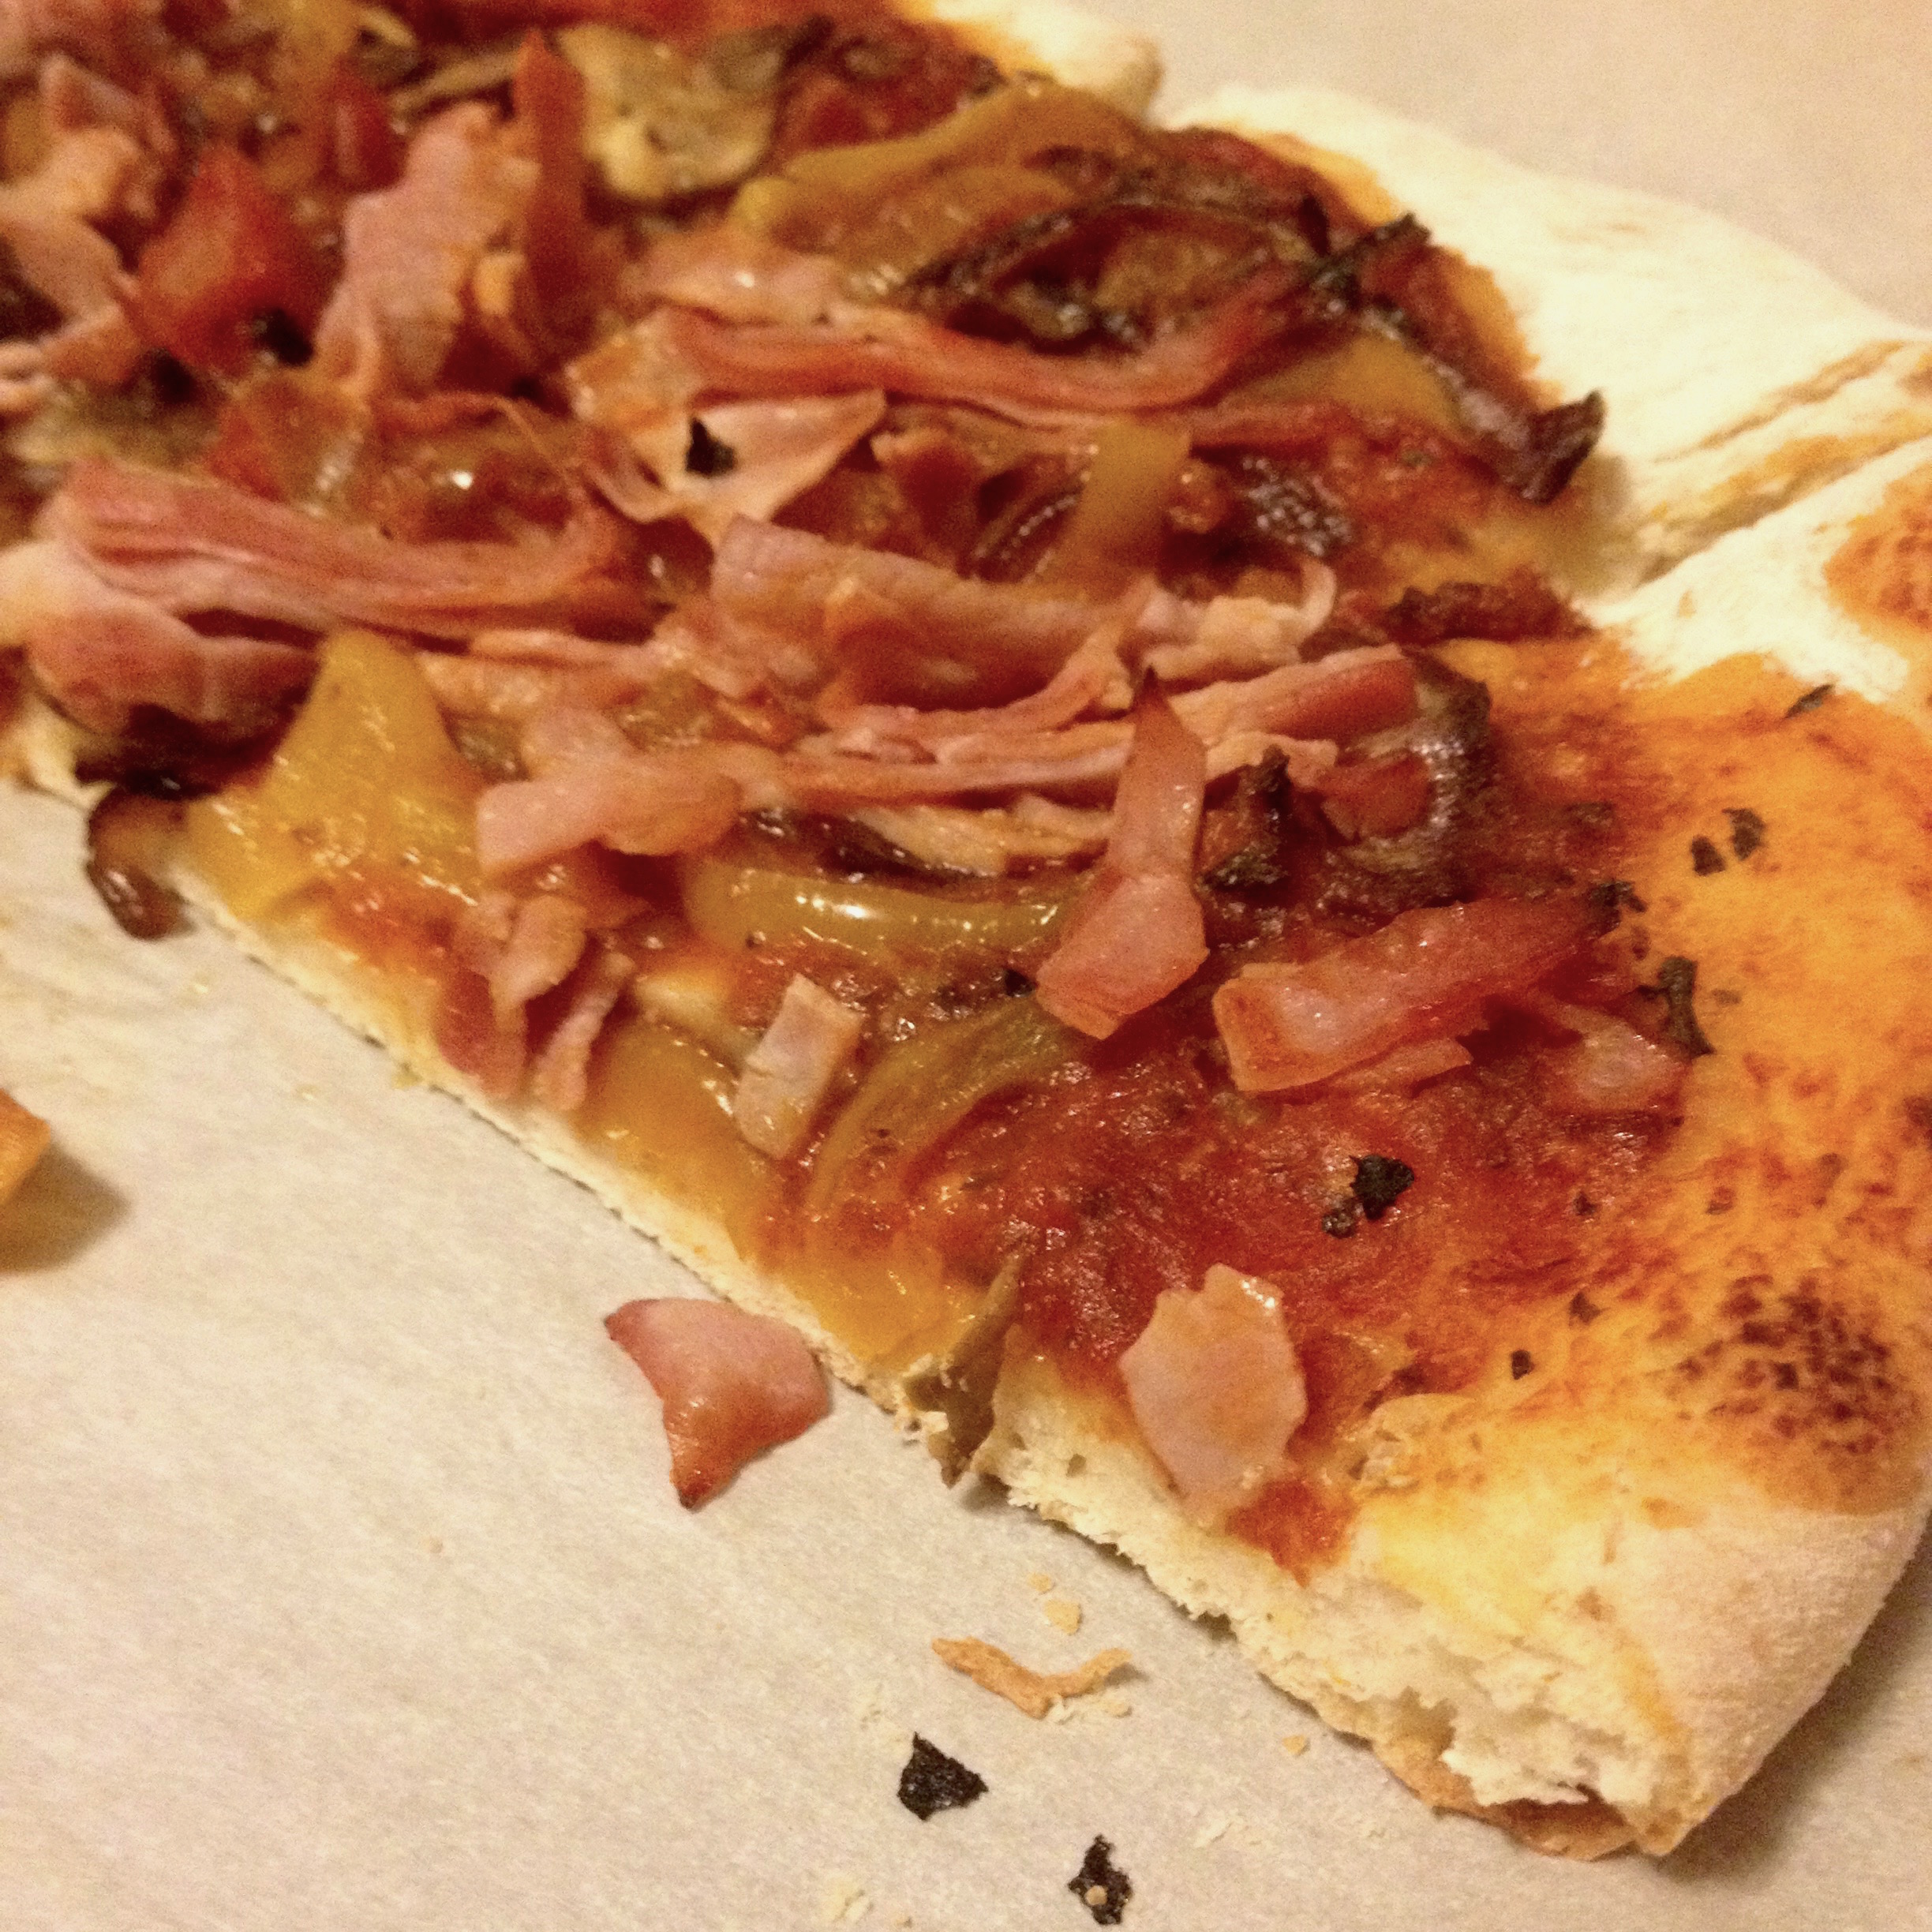
All that, to say that this recipe was pretty easy to do. And this was the result:
 It was gone in a heartbeat.
We made the crust ourselves in the bread machine on the dough settings. You can also use a store-bought pizza dough, it will make the process even easier, and cut the preparation time significantly. The key to get a thin crispy crust is to saute the veggie toppings first, so they do not get soggy while cooking. That will also ensure that they are well cooked with the pizza crust. Another trick I used here is to place the pizza on a parchment paper, then slide it on the pre-heated pizza stone in the oven. It makes the transfer much easier and placing the pizza on the heated stone cooks the crust more evenly. If you do not have a pizza stone, you can directly slide the pizza on the oven rack with the parchment paper under it.
Ham is not usually found on pizza here in the US, but when we were in Madagascar, I recall that it was a common pizza topping. My son loves “jambon” so he was very enthousiastic when I suggested we put it on the pizza…and let’s be honest, it was the only kind of meat that I had that I could put on the pizza.
Ham and yellow pepper pizza
Pizza Crust (using a bread machine)
1/4 teaspoon of salt
1 1/2 cups all purpose flour
3/4 teaspoon active dry yeast
3/4 cup water
1 tablespoon olive oil (or vegetable oil)
Pizza sauce
1 cup of tomato sauce
1/4 teaspoon dried oregano
1/4 teaspoon dried basil (or fresh)
1 clove of garlic crushed
salt as desired
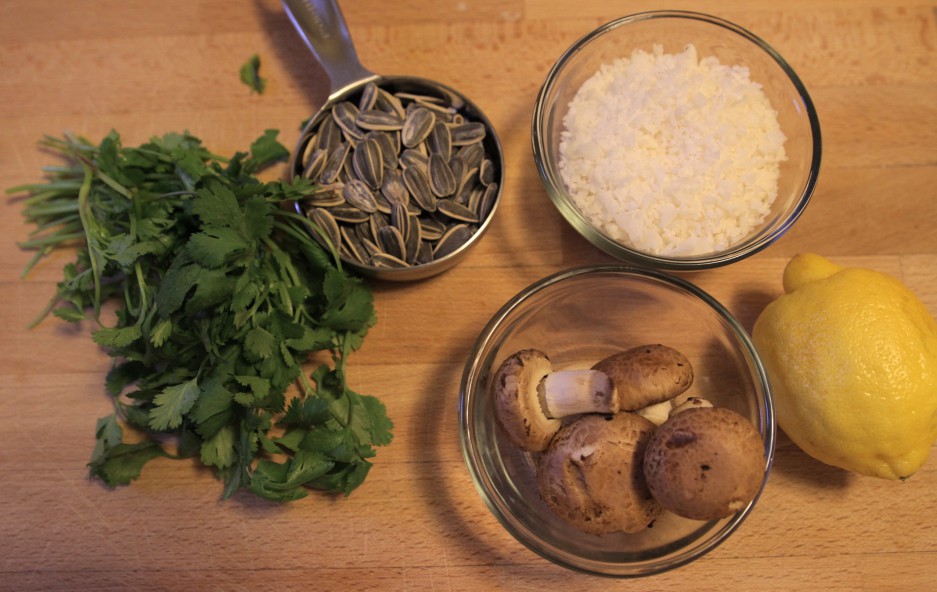
Pizza toppings
– 1 yellow bell pepper, thinly sliced
– 1 red onion, thinly sliced
– 5 baby bella mushrooms (or white button mushrooms), thinly sliced
– 2 cloves of garlic, crushed
– 1/2 cup of ham, sliced thinly
– 1 teaspoon of oil
– dried basil and oregano
Heat the oven at 400°F. Place a rack in the middle of the oven. If you have a pizza stone, place the stone in the oven middle rack while it is heating up.
Make the pizza dough. Add the ingredients as suggested by the bread maker instructions. Adjust the amount of flour or water as needed once the kneading starts. You should have a soft and flexible dough that is not sticky to the touch.
 In a large frying pan, heat the oil on medium heat for the toppings. When the oil is hot, add in the crushed garlic and mix with the oil to flavor it. Add in the onion, the bell pepper and saute them until soft and slightly brown. Sprinkle with some of the dried herbs to flavor. Add the mushrooms in the last few minutes. Set aside.
Mix the ingredients for the tomato sauce in a bowl.
Once the dough is ready. Sprinkle a large 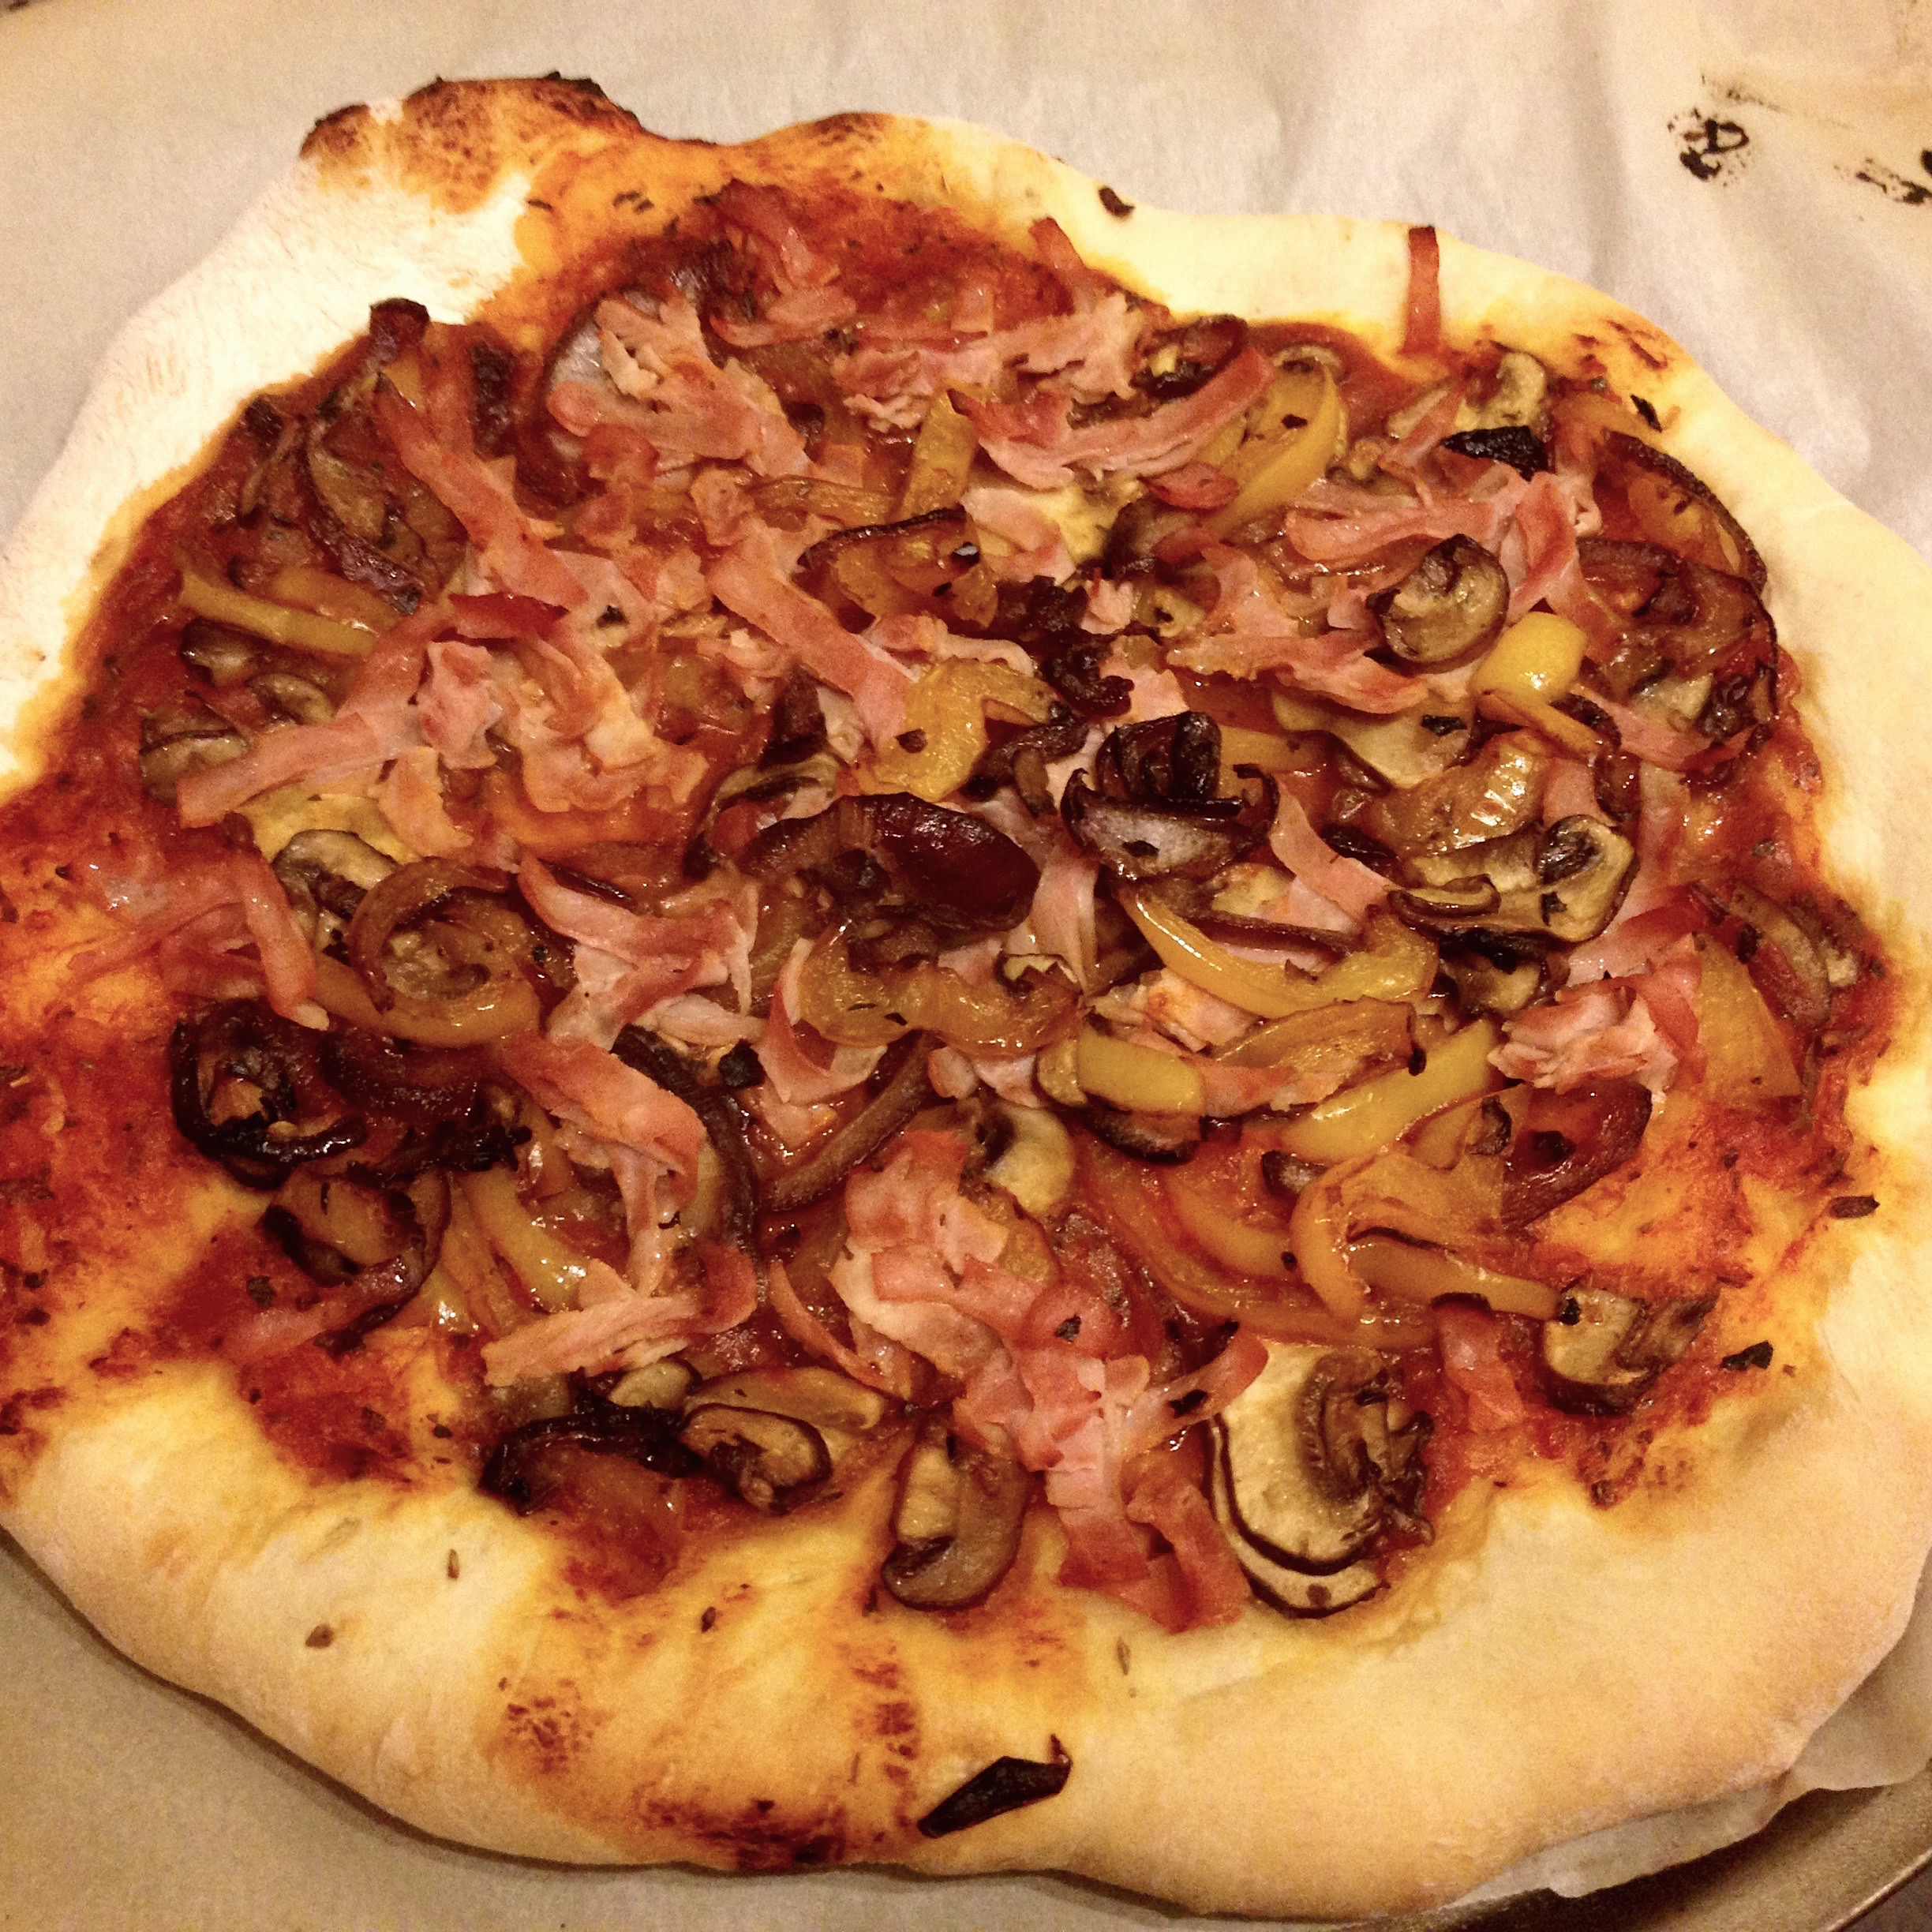 cutting board or the counter top with flour. Spread the dough on the floured surface by pressing with your hands or using a rolling pin to thin it out and make the shape as round as possible. Carefully transfer the dough on a pizza sheet lined with a large enough piece of parchment paper. Add the sauce and the toppings.
Slide the pizza with the parchment paper under it, onto the heated pizza stone in the oven (or onto the oven rack directly if you do not have a stone).
Bake for 15-20 min until the crust is slightly brown. Cut it. Eat it. Enjoy!